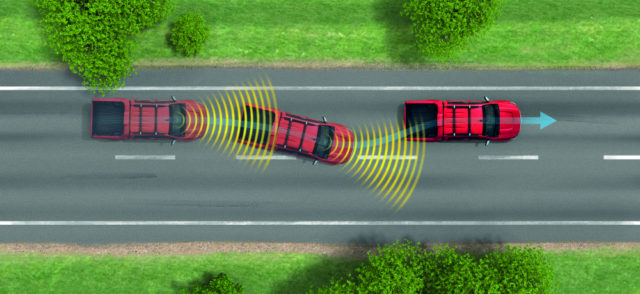
Advanced Driver Assistance Systems (ADAS) are proliferating at a rapid rate, but they’ve been around for long enough to cause some technicians grief.
Indie Garage reached out to Hunter Engineering‘s director of product management – systems technology, Kaleb Silver, to get his take on what’s facing technicians.
What would you say is the number one misunderstanding among professional technicians about working with ADAS?
It’s that ADAS systems have similar requirements and procedures, and when and how to calibrate, from OEM to OEM and model to model. While most OEMs have similar requirements and procedures for each group of models, these can vary greatly from one OEM to another.
It is also common for such requirements and procedures to change with generational ADAS system changes, leading to further confusion in the market. Some OEMs require that select systems be calibrated after a wheel alignment, while many others do not. Some calibrate in a bay using specialized targets or fixtures, while others require driving for a period of time under certain road conditions.
This makes having access to OEMs’ repair procedures increasingly important, so the technician can know what applies directly to the vehicle he is servicing.
What are some key things professional techs can do to avoid unnecessarily triggering the need for calibration procedures?
Referencing the OEM repair procedures is the best way to know when calibration is necessary. Most calibration requirements are in place for a reason, and trying to avoid triggering the need is not likely the best approach – as it can lead to short-cuts and attempts to circumvent the systems put in place by the OEM, resulting in a system not performing as designed by the OEM or expected by the vehicle owner/user.
When working with an ADAS-equipped vehicle, what do techs need to have in terms of training and equipment?
While this list can vary by OEM, here are some basic items:
- Wheel Alignment Equipment – Most ADAS calibrations require wheel alignment, specifically Thrust Angle, be within specification prior to calibrating the ADAS system.
- Diagnostic Scan Tool with ADAS Coverage – Whether you are in the OEM tool camp or the Aftermarket camp, you will need a scan tool with coverage for the vehicles and systems you want to calibrate.
- Repair Procedure Information – This is the when and how to calibrate instructions.
- Fixtures/Targets – Many OEMs require special fixtures and targets for calibration. If working with these OEMs, you will need the appropriate gear.
- Space – Most OEMs that use Targets and Fixtures for calibration have a clear space requirement around the target. This requirement can get quite large on some vehicles (up to 1500 square feet or 140 square metres), and typically requires no metal or reflective objects in the area, including common shop items like above-ground lifts, tool boxes, work benches, ceiling support posts, etc.
- Road, Weather, Driving Conditions – For Dynamic or Driving calibrations, many require a vehicle be driven above 65kph (40mph) for 15 minutes on a road with clear lane markings and common road side objects. This can be difficult in many metro areas or during certain parts of the year.
Professional technicians are pretty resourceful and can often find unorthodox ways to effect repairs. What is the potential downside of trying to use “workarounds” (if there are any) with ADAS?
ADAS technology is designed to prevent or lessen the impact of a vehicle incident. The advertisements and customer expectations tied to this portray the systems as a safety-related item, much like anti-lock brakes, airbags, or seat belts.
This is an area in which I would not advise looking for workarounds, any more than I’d advise using a piece of rubber fuel hose to repair a rusty brake line. While it may appear to work initially, the long-term risk is not worth it.


0 Comments